

How to Plan a Charlotte Custom Home for Aging in Place: 7 Decisions
By Max Built
9 min read
Plan for aging in place by making long-term ease part of the new home's architecture from the beginning. Start with at least one practical zero-step entry, a complete main-level living option, generous everyday routes, and a bathroom that can adapt without looking clinical. Then coordinate lighting, controls, storage, structure, and future equipment needs before framing and finishes make changes difficult. The goal is not to predict every future need. It is to build a graceful custom home that works beautifully now and leaves sensible options for later.
Planning a new home? Explore Max Built's custom-home process, then view the craftsmanship in our project portfolio.
1. Define the routines the home should support long term
Aging-in-place planning begins with ordinary life, not a checklist of special products. Trace the routes used every day: arriving home, carrying groceries, moving between the kitchen and great room, reaching a bedroom at night, doing laundry, and stepping outside. Those routines reveal where a level change, tight turn, or distant storage area could become needlessly tiring.
Talk honestly about the years ahead without trying to design for every possible circumstance. Will the main level need to work as a complete living zone? Could a guest suite become the primary bedroom later? Which outdoor spaces matter enough to keep easy to reach? A few clear priorities are more useful than filling the house with features that have no connection to the household.
Keep beauty and flexibility in the same conversation. Wider passages, better light, simple hardware, and a calm floor plan can make the home feel more generous from day one. When these decisions are part of the architecture, they do not read as afterthoughts or turn a luxury home into an institutional space.
- Can daily life happen on one level if needed?
- Which entry will be used most often with bags or groceries?
- Where could a tight turn or isolated room create friction later?
- Which features should be built now, and which only need future readiness?
2. Create a practical zero-step route into the home
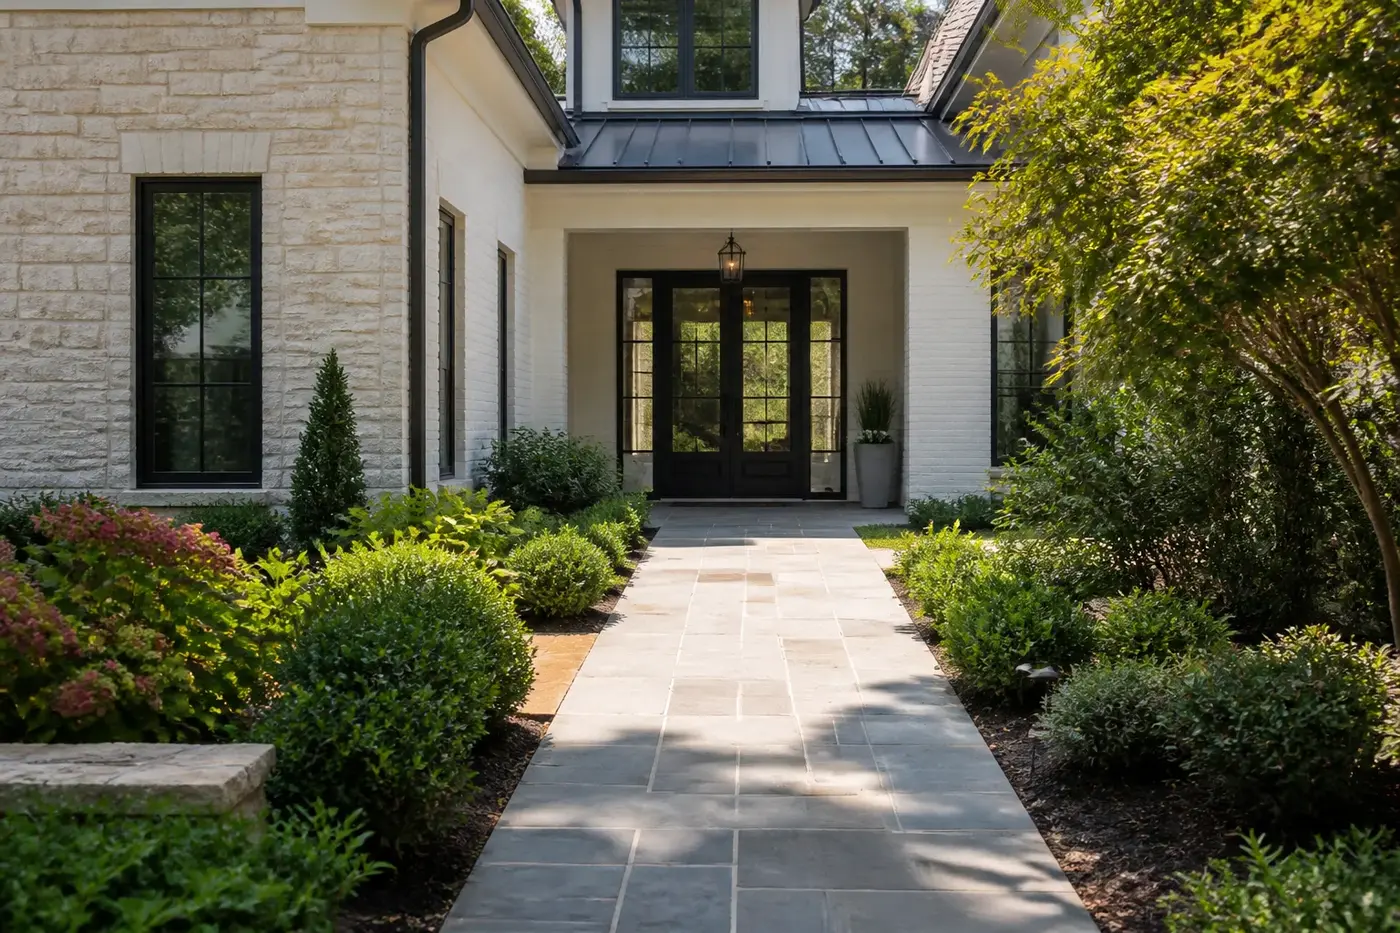
A zero-step entry works best when the site plan, finished floor elevation, grading, drainage, porch, and door threshold are designed together. It may be at the front door, a covered side entry, or the everyday entry from an attached garage. What matters is that the route is direct, sheltered, and connected to the rooms people actually use.
Study the path in section, not only on a floor plan. The ground still has to move water away from the house while meeting the threshold cleanly. Roof runoff, trench or area drains where appropriate, flashing, door sill details, and nearby planting all affect whether a level entry remains dry and durable. The builder, architect, civil or landscape professionals, and door supplier should coordinate the same condition.
Give the landing enough room for the door to open without forcing someone to back toward an edge. Add good light, visible hardware, and a place to set down a package. Done well, the entry simply feels gracious: a broad protected welcome rather than an obvious accommodation.
3. Make main-level living complete, not improvised
If long-term one-level living matters, make sure the main floor can support a complete day. That usually means a suitable bedroom and full bath, kitchen, living area, laundry access, and a comfortable route to an everyday entrance. A room labeled “future bedroom” is not enough if it is far from a bath or depends on crossing a busy gathering space.
Test the suite with real furniture. Draw the bed, nightstands, seating, dresser, door swings, window treatments, and the route into the bath. Leave clear space where it serves a purpose, but do not enlarge every room without discipline. Well-placed doors and furniture often improve movement more than raw square footage.
Privacy matters too. A flexible main-level suite should feel connected without sitting directly in the center of household activity. Consider sound, morning light, the view from the bed, and the route to the kitchen at night. These choices make the room desirable now, whether it begins as the primary suite or a welcoming guest space.
4. Simplify circulation, doors, and everyday transitions
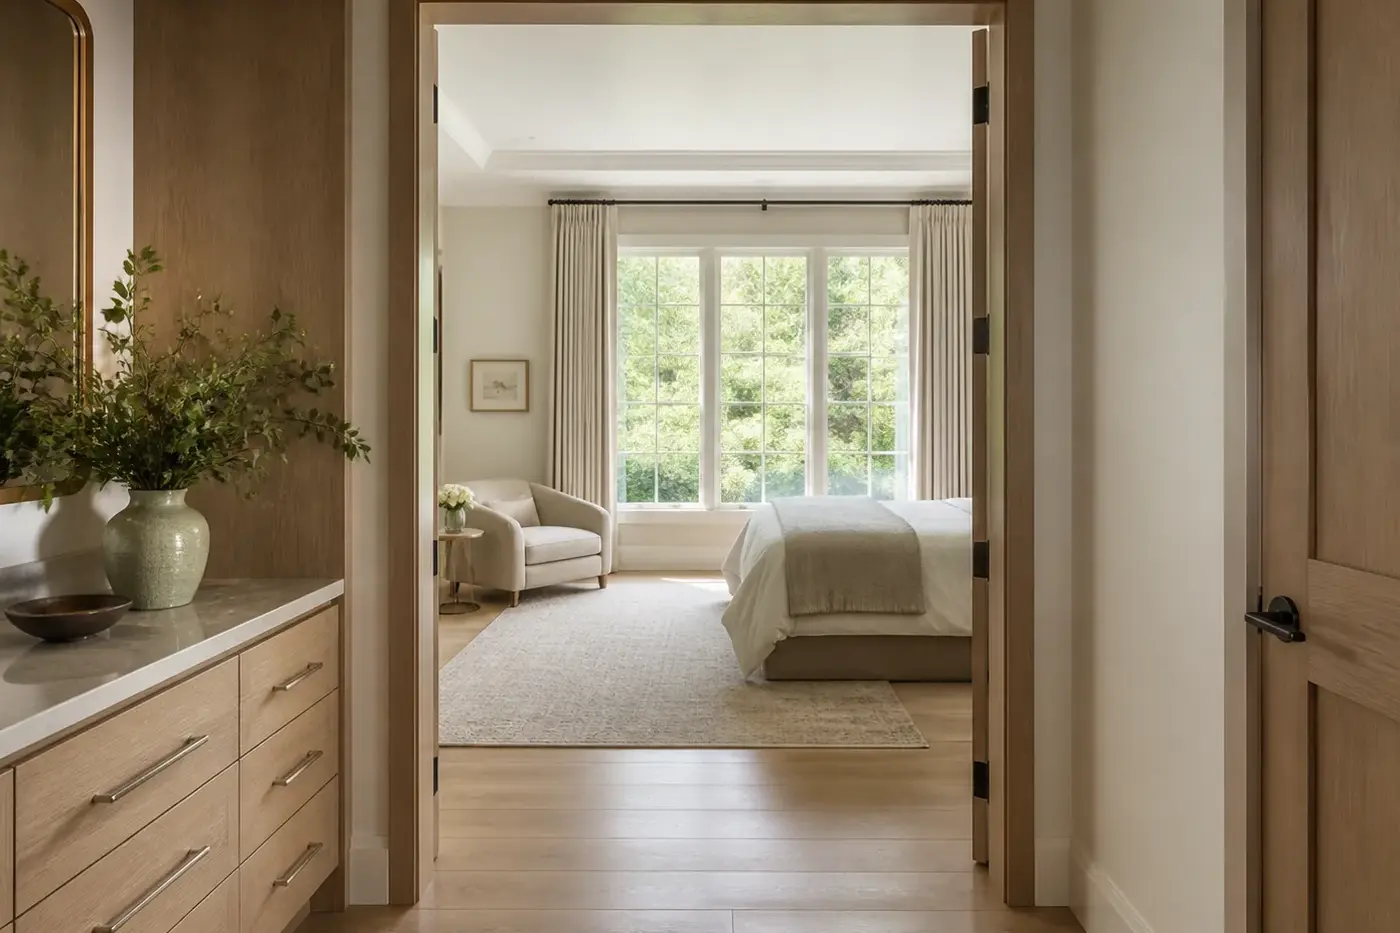
Good circulation is easy to understand. Reduce unnecessary steps, sharp turns, and narrow pinch points on the routes between the bedroom, bath, kitchen, laundry, and most-used entry. Check door swings in pairs; one open door should not block another or close off the clear path through a hall.
Coordinate doorway widths and hardware with the architectural elevations. Pocket doors can save swing space in the right location, but they need clear wall cavities and serviceable hardware. Lever handles are often easier to operate than knobs and can look entirely at home in a refined interior. Thresholds between rooms and exterior spaces should be intentional, with flooring transitions drawn rather than left to field improvisation.
Stairs still deserve care even when a main-level option exists. Give them consistent lighting, a continuous graspable handrail, clear landings, and a geometry that feels comfortable. If an elevator or lift is a serious future possibility, reserve a credible stacked location and discuss structure, power, clearances, and adjacent rooms before the floor plan is fixed. An empty shaft without a complete plan can create more trouble than flexibility.
5. Design a bathroom that can adapt gracefully
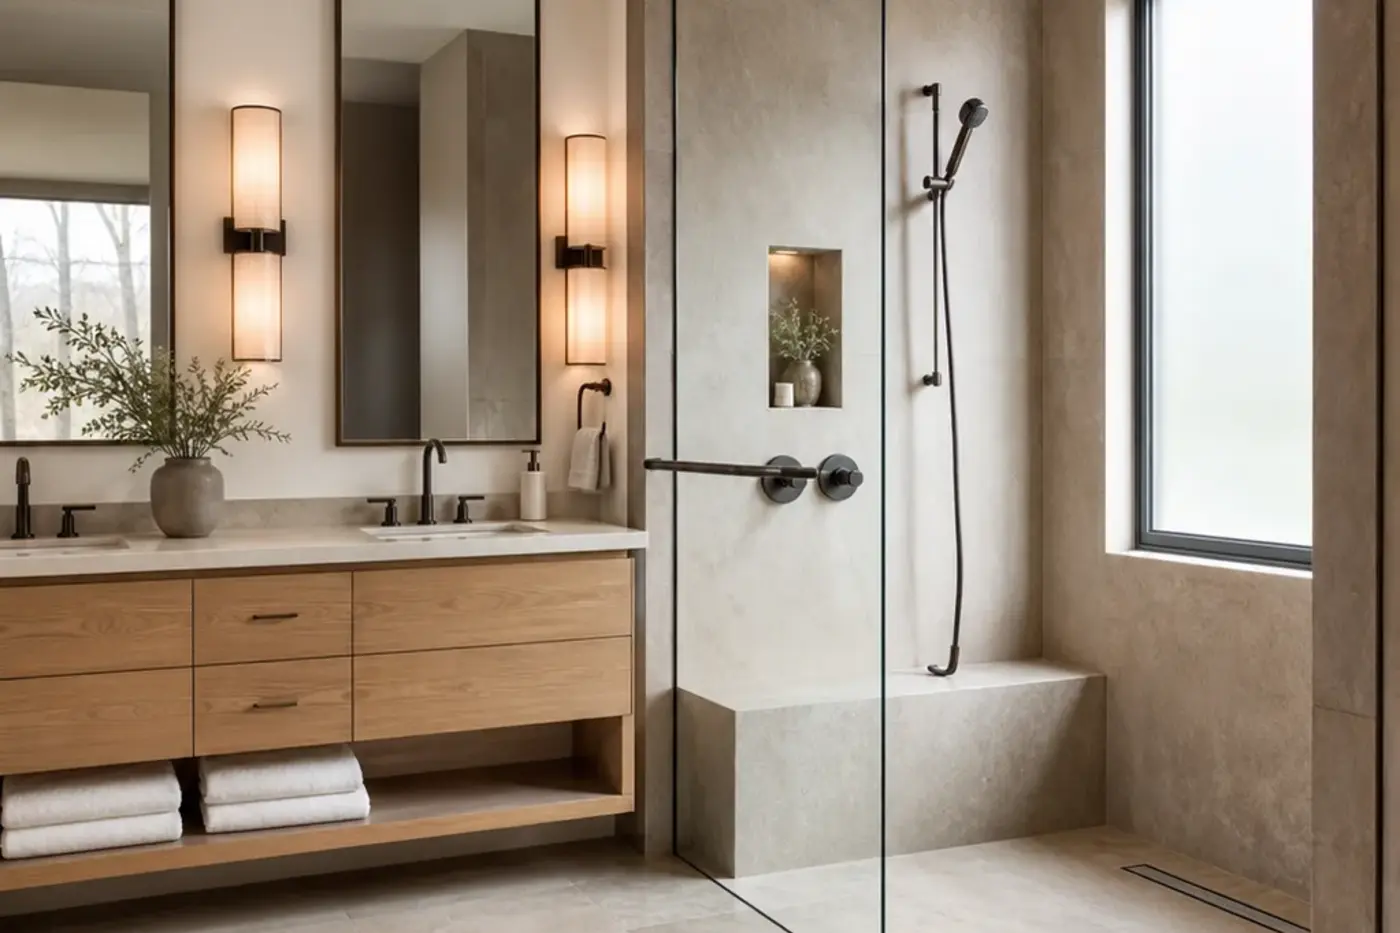
The bathroom deserves early attention because structure, waterproofing, plumbing, glass, cabinetry, and lighting converge in a small area. A truly zero-threshold shower requires the floor assembly, slope, drain, waterproofing, and nearby framing to be resolved before construction. It should not be created later by simply removing a curb.
Plan the shower entry, controls, bench, handheld shower, niche, and glass around the way the space will be reached. Keep controls accessible from the opening where practical so the water can be started without standing beneath it. A fixed bench can be integrated into the stonework, while a handheld outlet and hose need a location that does not create clutter or conflict with the door.
Discuss concealed wall backing at the toilet and shower with the project team, even if support rails are not installed immediately. Photograph and document the backing before walls close. Choose slip-conscious flooring, balanced lighting, and a vanity arrangement with useful knee and toe space where desired. The finished room should read as a calm luxury bath whose structure happens to be ready for change.
6. Make lighting, controls, and storage easy to use
Layered light supports comfort at every age. Combine ambient, task, and low-level nighttime lighting instead of relying on one bright ceiling scene. Pay particular attention to stairs, transitions, entries, kitchen work surfaces, bathroom mirrors, and the route between the bedroom and bath. Control glare as carefully as darkness; a glossy floor or exposed lamp can make edges harder to read.
Place switches, outlets, thermostats, and shade controls where they remain reachable around furniture and open doors. Keep everyday control simple at the wall even if the home includes automation. Clear labels and consistent switch arrangements beat a collection of clever scenes no one remembers how to use.
Storage should bring frequently used items into a comfortable reach range. Draw pantry shelves, closet rods, kitchen drawers, laundry supplies, and drop zones with the actual objects they will hold. Deep shelves and high cabinets can look generous on an elevation while hiding the things used most. A mix of drawers, pullouts, adjustable shelves, and open landing space usually works better than maximum volume alone.
7. Document future-ready structure and systems before walls close
Some of the most useful decisions will disappear behind finished surfaces. Record shower and toilet backing, potential lift or elevator structure, spare conduit, blocking for future hardware, and the routes of plumbing and wiring. Keep dimensioned photographs with the final house documents so a future installer is not guessing through tile or millwork.
Separate real readiness from vague “just in case” spending. A future feature needs a credible location, route, service access, and connection plan. If those pieces cannot be explained on the drawings, reconsider whether the allowance is useful. Concentrate resources on the daily architecture first: entry, floor plan, bath, circulation, lighting, and controls.
Before framing closes, walk the home with the approved plans and the relevant project professionals. Follow the everyday routes, confirm thresholds and door swings, check bathroom backing and floor conditions, review switch and outlet locations, and verify any future-ready zones. That final coordinated pass turns a good intention into details the completed Charlotte custom home can actually support.
Aging-in-place planning for a Charlotte custom home
When should aging-in-place features be planned for a custom home?
Begin during site planning and early architectural design. Entries, floor levels, main-level living, doorway locations, bathroom structure, stairs, and future equipment zones are much easier to coordinate before the plans and framing are fixed.
Does an aging-in-place home have to look accessible or clinical?
No. Many helpful choices—clear circulation, good lighting, lever hardware, a zero-step entry, a generous shower, and simple controls—can be integrated into a luxury design without calling attention to themselves.
Does every entrance need to be zero step?
Not necessarily. Prioritize at least one practical, sheltered route connected to everyday arrival and the main living spaces. Coordinate its grading, drainage, threshold, landing, lighting, and door swing as a complete detail.
Should a custom home include an elevator from the start?
Only when it fits the household's goals and the complete plan. If future installation is being considered, reserve a realistic stacked location and coordinate structure, power, clearances, access, and the way nearby rooms will work before construction.
What should be documented before drywall in an aging-in-place plan?
Document wall backing at showers and toilets, future hardware locations, any lift or elevator provisions, concealed plumbing and wiring, spare conduit, thresholds, and other readiness details. Keep dimensions and photographs with the final home records.
Build the right plan before construction begins
Tell us about your property, priorities, and the way you want to live. We'll help organize the next decisions around a clear, buildable path.