

How to Plan Electrical Systems for a Charlotte Custom Home: 7 Decisions
By Max Built
9 min read
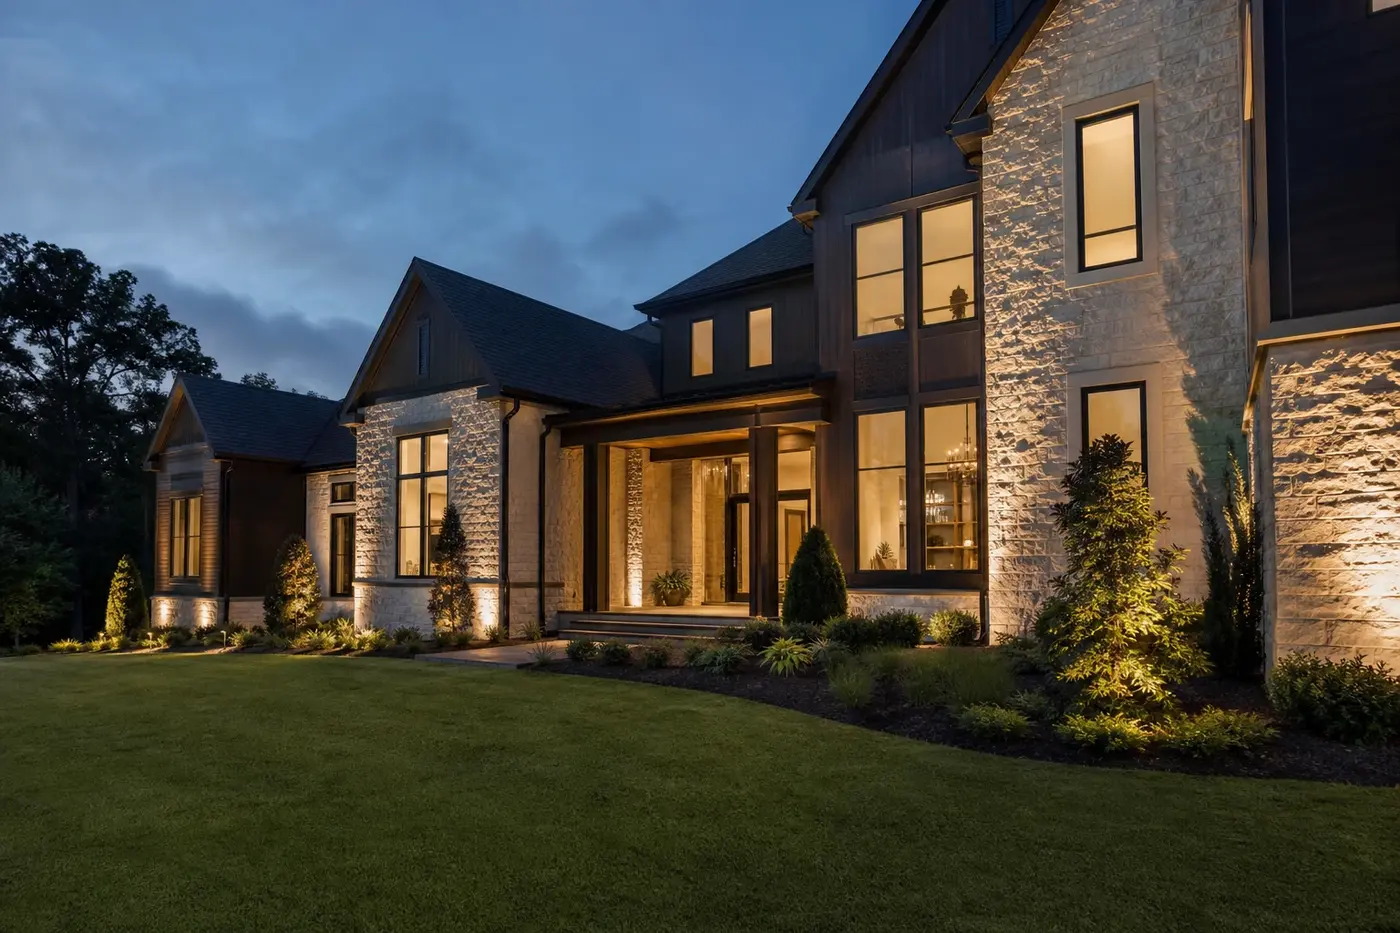
Plan a custom home's electrical system around rooms, routines, furniture, equipment, and future changes—not a generic outlet count. Mark where people will cook, charge devices, read, entertain, work on hobbies, manage shades, and use outdoor spaces. Then coordinate receptacles, switches, lighting, dedicated circuits, low-voltage wiring, panels, backup-power readiness, and service access with the architectural drawings before framing. The goal is simple: power and controls should be easy to reach, visually quiet, and ready for the way the finished home will actually be lived in.
Planning a new home? Explore Max Built's custom-home process, then view the craftsmanship in our project portfolio.
1. Map daily routines before placing devices
Start with a furnished floor plan. An empty room makes almost any outlet location look acceptable, but the real test begins when a bed, sofa, desk, television, cabinet, or floor lamp arrives. Mark the likely furniture first, then place power and controls where someone can use them without reaching behind a headboard or running a cord across a walkway.
Walk through an ordinary day. Where will phones charge overnight? Which kitchen counter holds the coffee maker? Does a reading chair need a floor outlet or a nearby wall receptacle? Where will holiday lighting, a cordless vacuum, or a future motorized shade plug in? Small routines expose gaps that a standard electrical symbol plan can miss.
Keep the plan practical. Adding devices everywhere can make walls and cabinetry look busy without making the home easier to use. Give each outlet, switch, and connection a clear purpose, then review it from both standing and seated positions. A thoughtful location is usually worth more than an excessive count.
- Which furniture locations need convenient power without visible cords?
- Where will phones, tablets, vacuums, and small appliances charge?
- Which doors, cabinets, curtains, or artwork could block a device?
- What outdoor and seasonal routines need power close at hand?
2. Coordinate kitchens, utility rooms, and dedicated loads early
The kitchen concentrates appliances, countertop devices, lighting, ventilation, and cabinetry in one place. Review the actual appliance schedule and cabinet drawings alongside the electrical plan. A range, wall oven, refrigeration, dishwasher, disposal, beverage station, and specialty appliance may each affect circuits, connection points, clearances, and the space available inside cabinets.
Look beyond the main kitchen. A scullery, pantry, laundry room, mudroom, garage, mechanical area, or outdoor kitchen can carry its own mix of equipment. Decide what is genuinely planned rather than leaving vague notes for later. Exact model information helps the project team coordinate power, plumbing, ventilation, and cabinetry before rough-in.
Ask qualified electrical professionals to size circuits and equipment for the specific home and current code requirements. The homeowner's job is not to engineer the system. It is to provide a complete picture of what will be installed, where it will sit, and how it will be used so the technical design is based on real decisions.
3. Build the lighting plan around tasks, surfaces, and mood
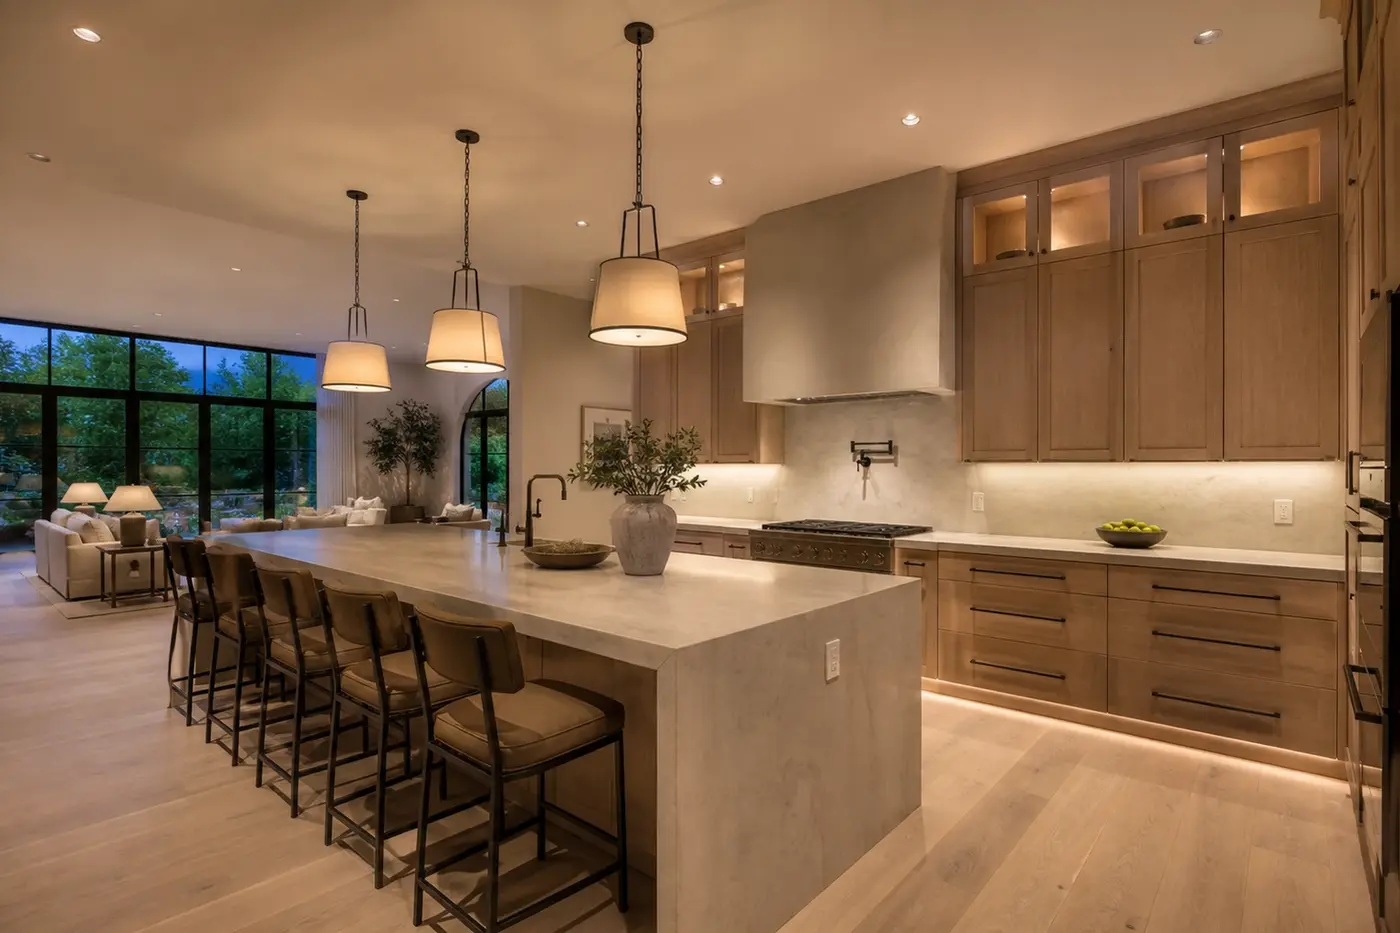
Lighting works in layers. General light helps someone move through a room, task light supports cooking or reading, and accent light draws attention to art, stone, shelving, or architecture. Begin with what each area needs to do. A neat grid of recessed fixtures may look organized on paper while leaving work surfaces dim and ceilings unnecessarily crowded.
Coordinate fixtures with ceiling shapes, beams, air registers, sprinklers where applicable, shades, millwork, and furniture. Centering a pendant over an island or a sconce beside a mirror requires the final dimensions of the objects around it. If those dimensions are still moving, identify the decision and return to it before wiring is fixed.
Review color temperature, dimming, beam spread, trim finish, and visible lamp quality with samples where practical. Evening light deserves its own pass because a room can feel entirely different after sunset. Exterior lighting should be equally restrained—enough for entries, paths, and outdoor rooms without washing the house in glare.
4. Make switches and controls understandable
A custom home can collect so many controls that entering a room becomes a guessing game. Group switches by the way someone thinks: main room, work light, accent light, shades, exterior. Put the most common action in the easiest position and use consistent arrangements across similar rooms.
Walk every route through the house. A light should be controllable from the point where someone naturally enters or leaves, not only from the side that was easiest to wire. Bedrooms, stairs, long halls, garages, terraces, and secondary entries deserve special attention because inconvenient controls show up quickly in daily use.
If the plan includes smart controls, decide what should still work simply at the wall. Document scenes in plain language and avoid making basic lighting dependent on an app. The best system can handle sophisticated routines while remaining obvious to a guest—or to the homeowner during an internet or equipment interruption.
5. Plan bedrooms and private spaces at furniture level
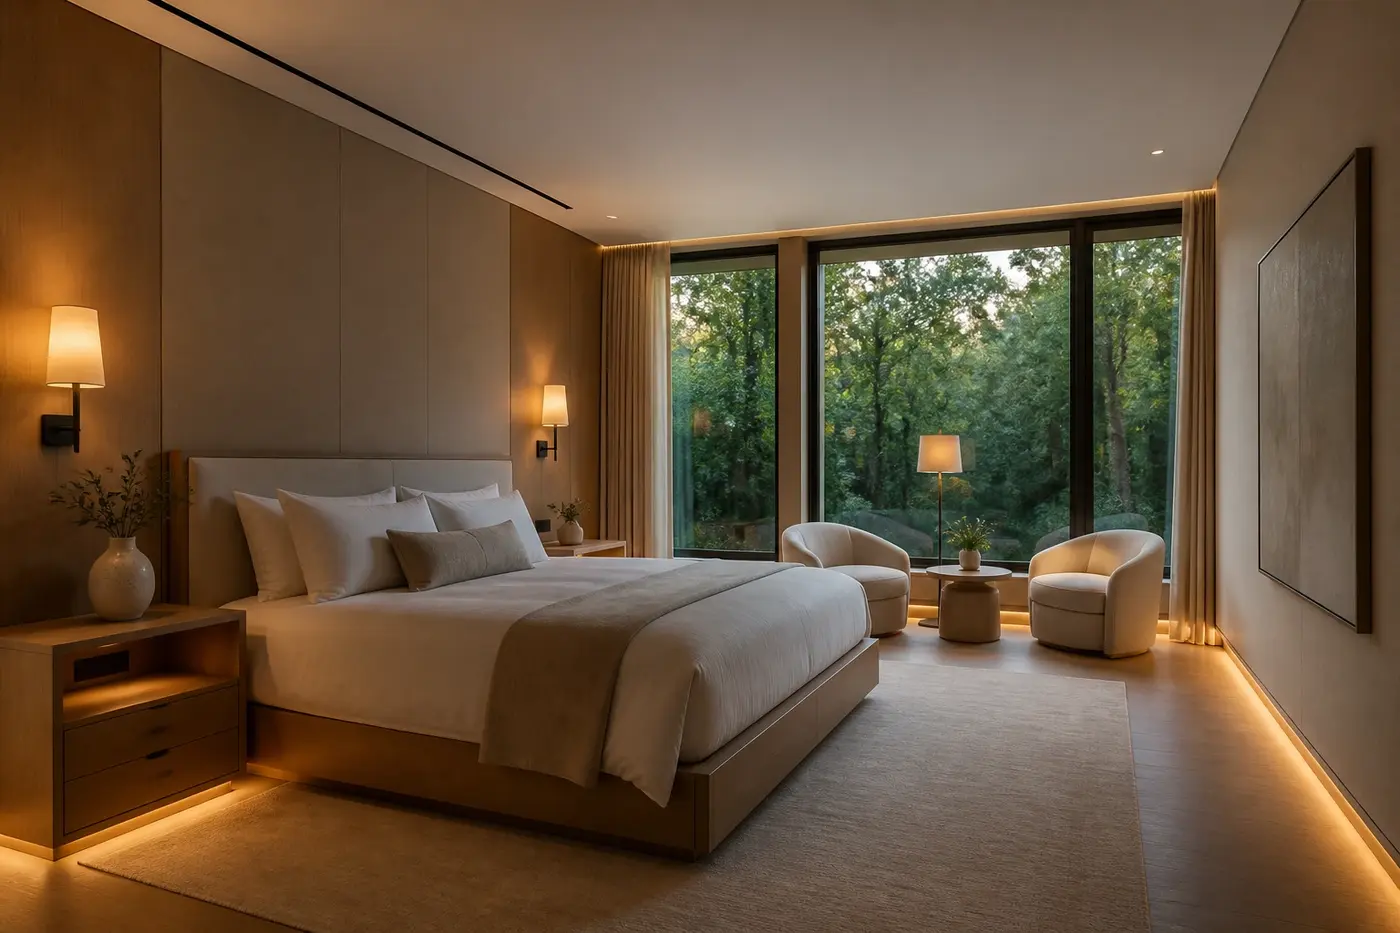
Bedrooms reveal poor electrical placement fast. Draw the actual bed width, nightstands, reading lights, window treatments, dresser, television if planned, and seating. Then locate outlets, USB or charging points, switches, and shade power where they remain reachable. A receptacle hidden behind the center of a headboard is technically present but practically useless.
Consider how the room should shut down at night. Many homeowners prefer to control key lighting from the bedside as well as the entry. Low-level path lighting may be useful between the bed and bath, while bright ceiling light may be unnecessary for that trip. Make these choices deliberately rather than expecting automation to solve an awkward base plan.
Bathrooms and dressing areas need the same level of coordination. Mirrors, sconces, vanities, grooming tools, heated features if selected, ventilation, and cabinetry all compete for limited wall space. Confirm device locations against elevations so they do not land in mirror edges, stone seams, drawers, or prominent millwork panels.
6. Decide on technology, connectivity, and resilience before walls close
Wi-Fi equipment, data cabling, security devices, doorbells, cameras, audio, televisions, shades, and home controls all need locations, pathways, and power. Start with the systems the household will truly use. Then identify a central, ventilated, serviceable place for equipment rather than scattering essential hardware across closets with no room to work.
Hardwired connections can still be valuable for fixed equipment and difficult coverage areas. Discuss access points, data drops, conduit paths, and service-provider entry with the appropriate professionals while framing is visible. A modest empty conduit to a credible future location can be useful; an undefined bundle of wires to nowhere is not a plan.
Talk through resilience as well. That may include surge protection, selected backup loads, generator or battery readiness, and the panel space those choices require. Do not assume every circuit needs backup. Identify the functions that matter during an interruption, then let qualified professionals design a safe, code-compliant approach for the home.
7. Hold a room-by-room review before electrical rough-in
Before wiring begins, compare the electrical drawings with floor plans, furniture, cabinetry, interior elevations, reflected ceiling plans, appliance schedules, mechanical equipment, plumbing, window treatments, and exterior layouts. Conflicts often sit between drawings. A ceiling light may share space with an air register, or an outlet may land behind a cabinet panel that appears only on an elevation.
Then do a physical walk-through after framing, with the approved plan in hand and the right project professionals present. Stand where beds, counters, sofas, and artwork will be. Check switch sides at doors, outlet heights, fixture centerlines, equipment access, exterior locations, and any floor or cabinet connections. Record approved adjustments clearly instead of relying on memory.
Finish with labeling and documentation. Confirm panel locations have working clearance, circuits can be identified, control programming can be handed over, and concealed pathways are photographed where useful. A well-documented electrical system is easier to understand on move-in day and easier to adapt as the home changes later.
Electrical planning for a Charlotte custom home
When should electrical planning begin for a custom home?
Begin during architectural design once the floor plan and furniture concepts are taking shape. Refine outlets, switches, fixtures, equipment, controls, and technology before framing and rough-in make changes harder.
What should homeowners bring to an electrical planning meeting?
Bring furnished floor plans, cabinet and appliance information, lighting ideas, window-treatment needs, planned technology, outdoor-use priorities, and a list of daily routines that depend on power or controls.
Should every room have smart lighting controls?
Not necessarily. Use smart controls where scenes, schedules, remote access, or several lighting layers make them useful. Keep everyday wall control simple and understandable even when advanced features are included.
How should outlets be placed in a custom-home bedroom?
Place them from the final bed, nightstand, lamp, charging, shade, television, and seating plan. Check reach, cord visibility, switch access, and whether furniture or window treatments will cover each device.
What should be checked before electrical rough-in?
Check furniture, appliances, cabinets, doors, ceiling plans, lighting centerlines, switches, outlet heights, dedicated equipment, technology wiring, shade power, outdoor locations, panel access, backup priorities, and coordination with structural, mechanical, and plumbing work.
Build the right plan before construction begins
Tell us about your property, priorities, and the way you want to live. We'll help organize the next decisions around a clear, buildable path.