

How to Plan Flooring for a Charlotte Custom Home: 7 Decisions
By Max Built
9 min read
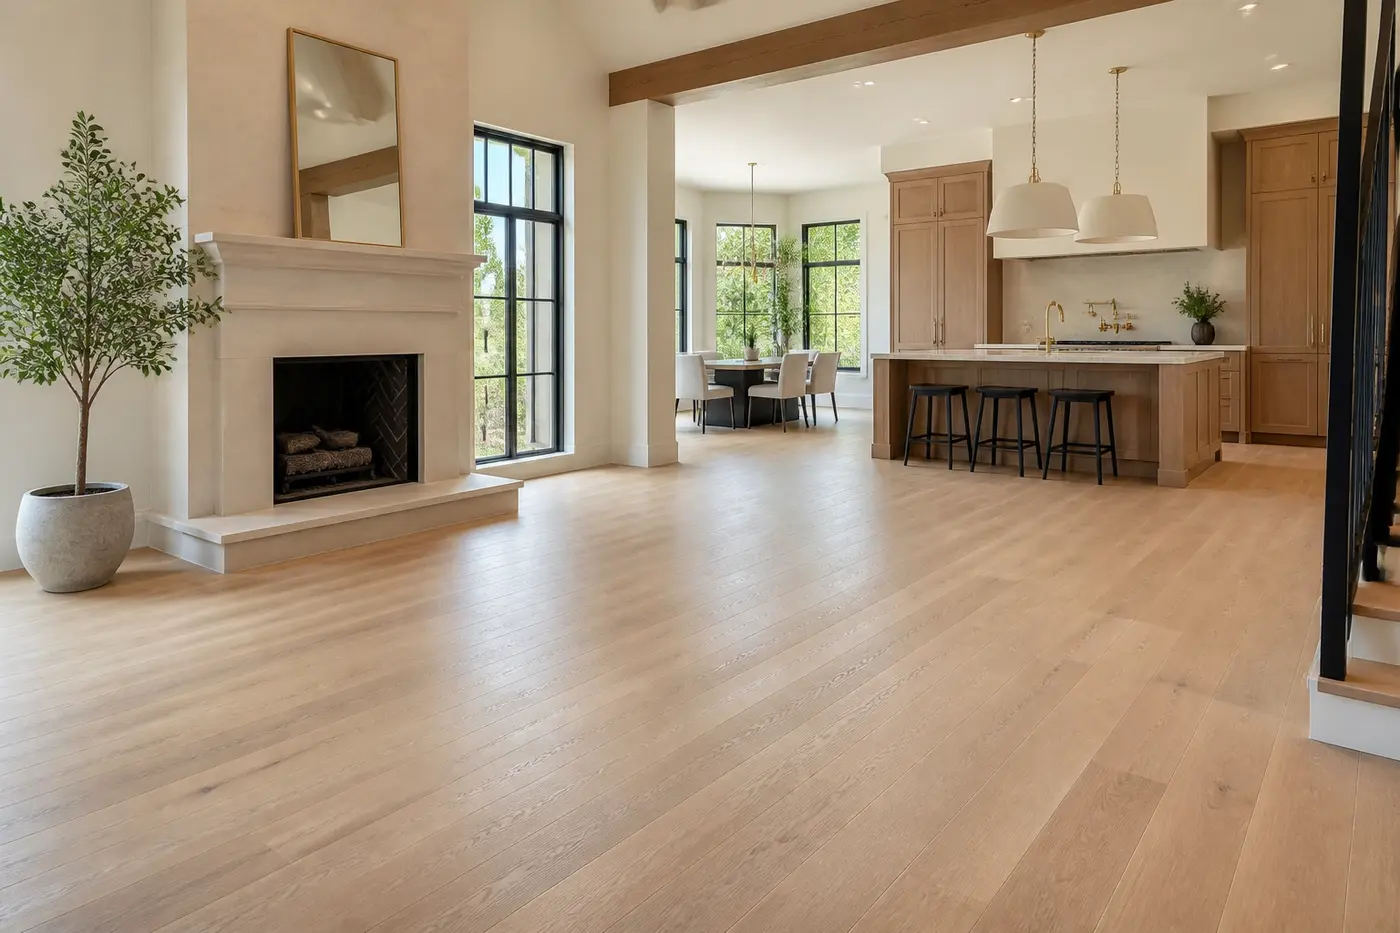
Plan flooring for a Charlotte custom home as part of the building, not as a finish selected at the end. Start with a room-by-room material map, then confirm the actual product thicknesses, installation methods, transitions, stair details, cabinet relationships, and conditions in wet or exterior-adjacent spaces. Review everything on one coordinated plan before slabs, subfloors, doors, stairs, and built-ins are fixed. The goal is a floor that feels continuous where it should, changes material for a clear reason, and can be cleaned, repaired, and lived on without turning every doorway into a last-minute detail.
Planning a new home? Explore Max Built's custom-home process, then view the craftsmanship in our project portfolio.
1. Map every flooring material before choosing a favorite sample
A small sample can be beautiful and still be wrong for the way a house is organized. Begin with the floor plan. Mark the intended material in every room, hall, closet, stair, covered threshold, utility space, and bathroom. Then step back and count how often the floor changes as someone moves through the home. Each transition should have a practical or architectural reason.
Think in connected zones rather than isolated rooms. One continuous wood floor can make a kitchen, dining area, and great room feel calm, but that choice also ties together cabinet installation, appliance clearances, stair nosings, and future repair planning. Stone or tile may suit an entry or wet area, yet an abrupt patch at a doorway can make the plan feel fragmented. Decide where continuity matters most and where a material change genuinely improves use.
Keep the map specific. Do not label an entire level simply as wood or tile. Note species or product, board or tile size, direction, pattern, finish, edge treatment, grout intent, and the rooms it serves. That single drawing becomes the starting point for estimating, ordering, layout, and every transition detail that follows.
- Which rooms should read as one continuous space?
- Where do water, grit, direct sun, or frequent exterior access change the need?
- How many material changes appear along the main daily route?
- Which closets and small rooms are easy to forget on the finish plan?
2. Choose materials for real use, light, and maintenance
Start with what the floor will face. An everyday entry may receive damp shoes and fine grit. A kitchen sees spills, chair movement, and repeated cleaning. Bedrooms need a different balance of warmth, sound, and softness. A bathroom adds water and slip considerations. Match the material and finish to those conditions before comparing color alone.
Natural light changes flooring throughout the day. Large Charlotte custom-home windows can reveal gloss, texture, board variation, grout tone, and dust that looked different under showroom lighting. View full-size samples in the intended rooms if possible. Place them near windows, cabinetry, stone, paint, and metal finishes. Check morning and afternoon light rather than approving the palette from one photograph.
Ask what care will actually happen. A highly textured surface may hold grit. A very dark or glossy finish may show every footprint. Wide grout joints add another cleaning pattern. None of these choices is automatically wrong, but the household should understand the routine. Luxury comes from a material fitting the room and aging honestly—not from selecting the most delicate option available.
3. Coordinate thicknesses so transitions finish flush
Different flooring systems rarely begin at the same thickness. Wood, tile, stone, carpet, and resilient products can require different underlayments, membranes, mortar beds, pads, or fastening methods. If those assemblies are considered late, the result may be a raised strip, a sloped patch, a door that needs trimming, or a step that no longer matches the rest.
Record the complete installed thickness of each assembly, not just the face material. Then coordinate slab recesses, subfloor build-ups, stair landings, door thresholds, exterior openings, and adjacent rooms. A clean flush transition usually depends on work completed long before the finish flooring arrives.
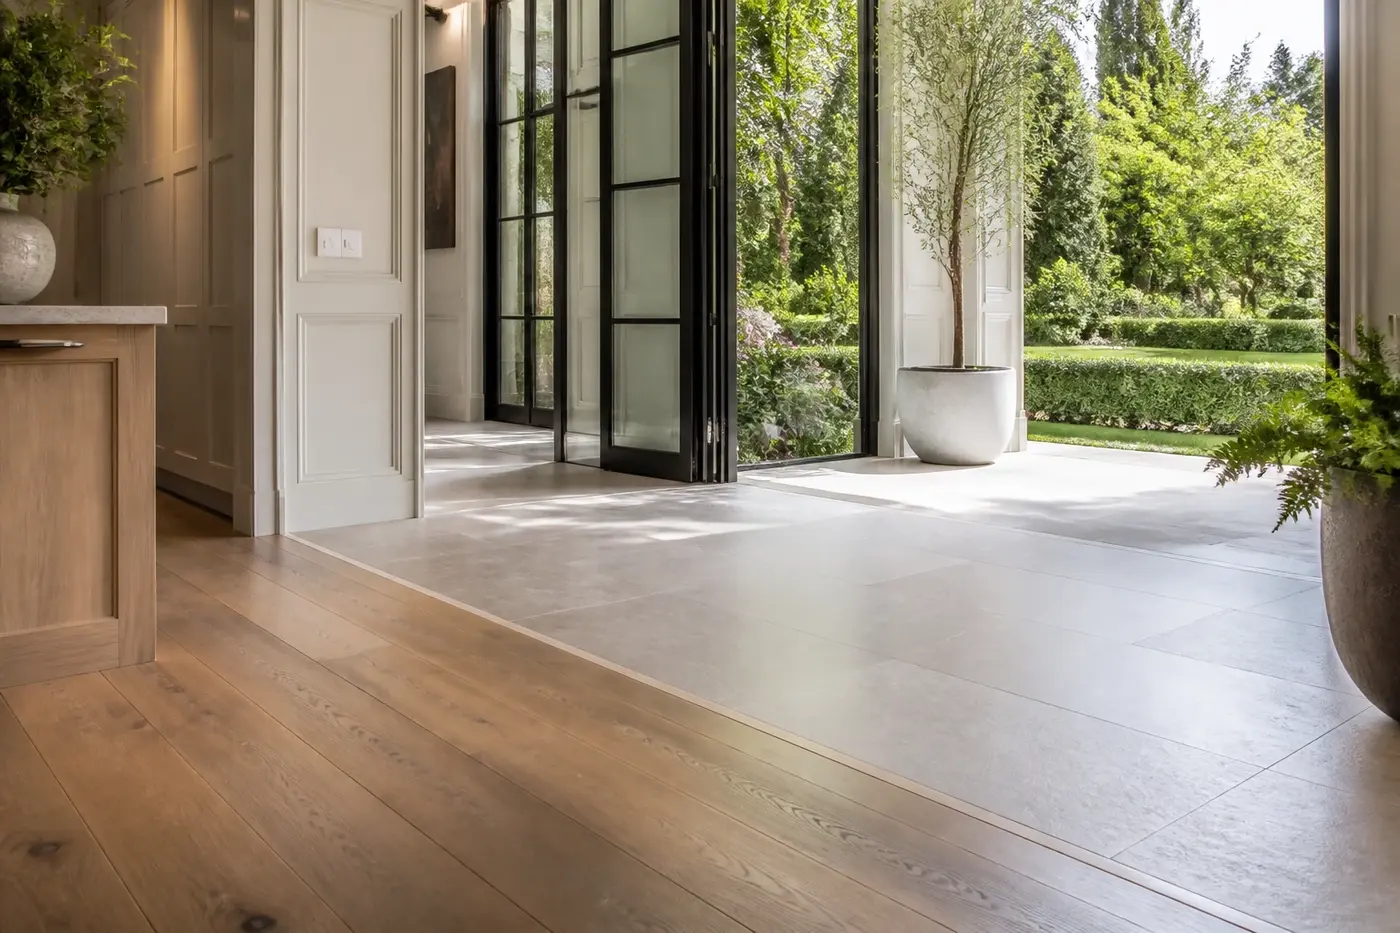
Choose the exact transition location, too. A doorway may look like the obvious line, but the joint still needs to align with the closed door, casing, wall plane, and view from both rooms. In open spaces, a material change may need an architectural edge such as a cabinet line, structural opening, or deliberate inlay. Avoid a wandering seam that follows whichever trade reached the area first.
4. Resolve board direction, tile layout, and focal lines early
Flooring has its own geometry. Long boards can reinforce a view or circulation axis. Tile joints can align with a vanity, shower opening, fireplace, or wall panel. A herringbone field may need a centered starting point and a carefully framed border. Draw those decisions instead of leaving them to be discovered from the first open box.
Test the edges of the pattern. A centered layout can create tiny cuts at one wall, while starting from a threshold may leave an awkward piece at the focal point. Review the room at full scale with cabinetry, islands, hearths, doors, floor outlets, vents, and plumbing penetrations shown. The most visible line should not be sacrificed to make a hidden corner easier.
Direction also affects continuity between rooms. If boards turn at every opening, the house can feel pieced together. If they continue blindly, they may conflict with stair direction, structural conditions, or the shape of an adjoining room. Set a primary direction for each connected zone, then document any deliberate change with its exact stopping line.
5. Detail bathrooms and exterior-adjacent floors as assemblies
A bathroom floor is more than tile. The substrate, waterproofing approach, slope where required, drain, curb or curbless transition, grout, sealants, heating components if selected, and doorway relationship all have to work together. Review the complete assembly with the builder, designer, and qualified trades before framing and rough-ins make the intended elevations difficult to achieve.
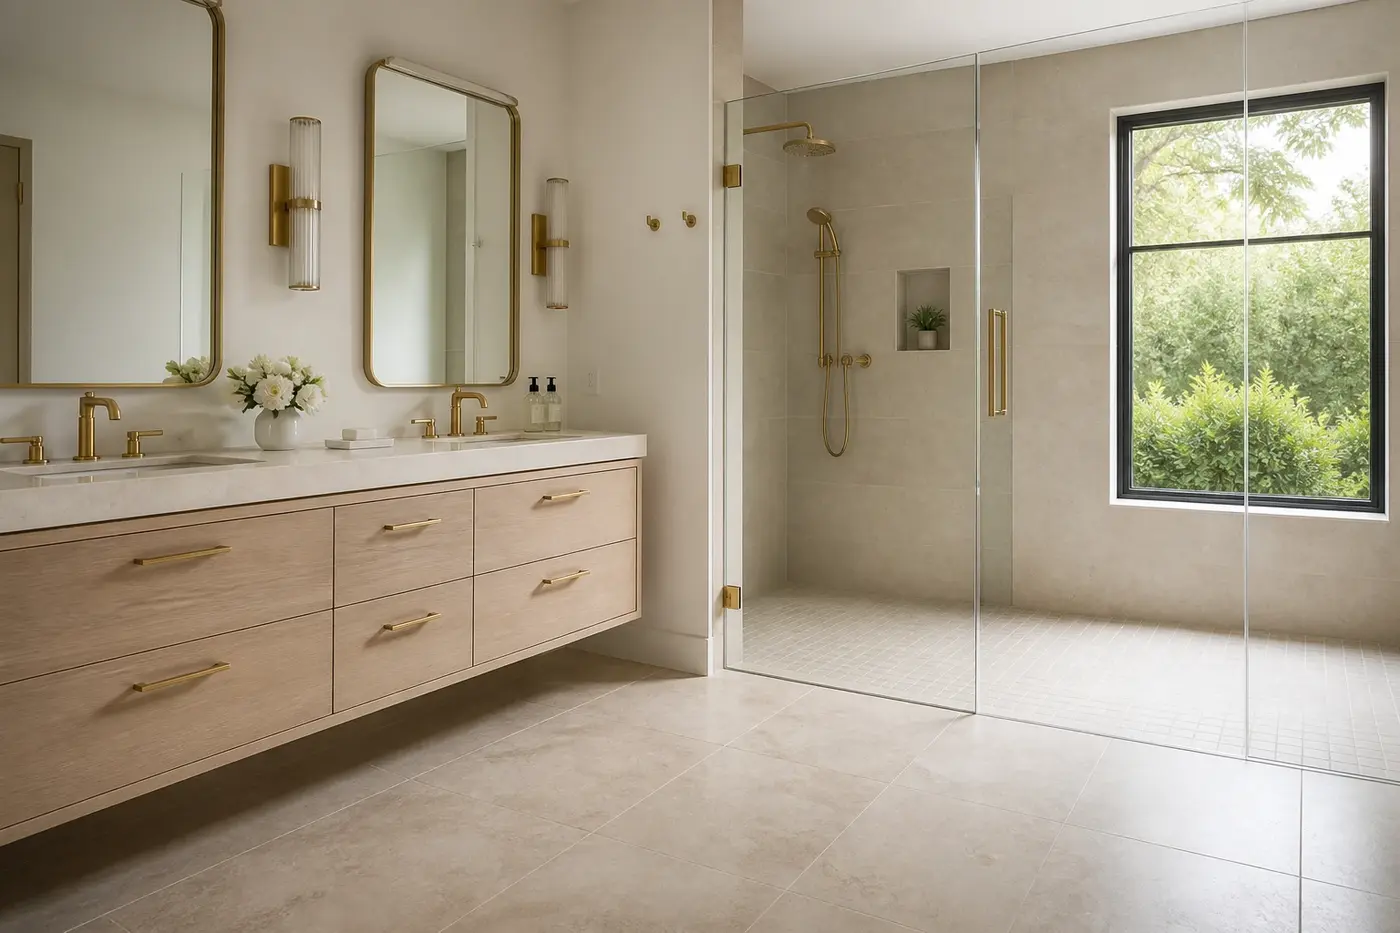
For a curbless shower, draw where the slope begins and how the main bathroom floor meets it. Check the size of the selected tile against the drain and slope geometry. Large tile can look quiet in the room, while a smaller format may follow a shower floor more naturally. The final pattern should support drainage without creating thin cuts or irregular joints around the drain.
Use the same whole-assembly thinking at entries and garden connections. Coordinate the exterior threshold, interior floor, weather protection, mat or landing zone, and nearby material change. Charlotte rain and tracked grit make this a practical detail, not just a visual one. The transition should protect the building and remain easy to clean without interrupting the main arrival path.
6. Connect flooring decisions to stairs, cabinets, doors, and trim
The finished floor sets the reference for many other details. Stair riser heights depend on the completed surfaces at the top and bottom. Door undercuts and thresholds depend on flooring and rugs. Baseboards meet the floor edge. Built-ins and kitchen cabinets may sit on the finished floor or coordinate with it in another documented sequence. Changing one material can move several of those relationships.
Stairs deserve their own drawings. Confirm tread material, nosing profile, finish, grain direction, landing transitions, guards, and the way the first and last risers meet adjoining floors. A thicker floor added late can create a noticeable difference at one riser. The stair should be detailed from finished surface to finished surface before fabrication.
Also decide how flooring passes around fixed cabinetry and appliances. Continuous material can simplify future layout changes in some areas, while a different construction sequence may be appropriate elsewhere. The important part is that the team shares one plan. Toe kicks, panels, floor vents, pocket doors, and appliance openings should not depend on assumptions about a floor that has not been fully specified.
7. Approve the installation standard and keep a care record
Before installation, confirm the approved product, batch or color range where relevant, layout drawings, pattern direction, transition details, grout or joint treatment, finish, and acceptable natural variation. Review a representative sample or mockup when the material has meaningful movement. A small approval area can reveal a sheen, blend, joint, or edge condition that a loose sample never showed.
The project team should also coordinate site conditions and preparation for the selected system. Substrates need to meet the product and installation requirements. Interior conditions, moisture checks, acclimation where applicable, protection, and sequencing should follow the manufacturer information and the judgment of qualified installers. Rushing the finish floor into an active work area can damage a careful selection before the house is complete.
Keep the final product names, finish information, installer records, care guidance, and spare material with the home's documents. Label leftover boards or tile by room and batch instead of leaving anonymous boxes in storage. Years later, that record can make a small repair far easier. The best flooring plan ends with a house that feels visually connected—and with enough information to care for what was built.
Flooring planning for a Charlotte custom home
When should flooring be selected for a custom home?
Set the room-by-room material plan during design and confirm actual products early enough to coordinate installed thicknesses, slabs or subfloors, stairs, doors, cabinets, wet-room assemblies, and transition locations before those details are fixed.
Should a custom home use the same flooring throughout?
Not necessarily. Continuous flooring can make connected living areas feel calm, while bathrooms, entries, bedrooms, or utility spaces may need different performance. Keep each change purposeful and place the transition on a clear architectural line.
How can different flooring materials meet without a raised strip?
Compare the complete installed thickness of both assemblies, including underlayments, membranes, mortar, pads, and fastening methods. Coordinate recesses or build-ups in the structure and set the exact joint location before installation.
What should be planned for a curbless shower floor?
Coordinate the substrate, waterproofing, slope, drain, tile size, joint layout, glass, and doorway elevation as one assembly. The builder, designer, and qualified trades should review the selected system before framing and rough-ins are complete.
What flooring information should homeowners keep after construction?
Keep product names, colors, finish or sealer information, care instructions, installer records, and clearly labeled spare material. Note which batch and room each leftover board or tile belongs to.
Build the right plan before construction begins
Tell us about your property, priorities, and the way you want to live. We'll help organize the next decisions around a clear, buildable path.