

How to Plan HVAC Zones for a Charlotte Custom Home: 7 Decisions
By Max Built
9 min read
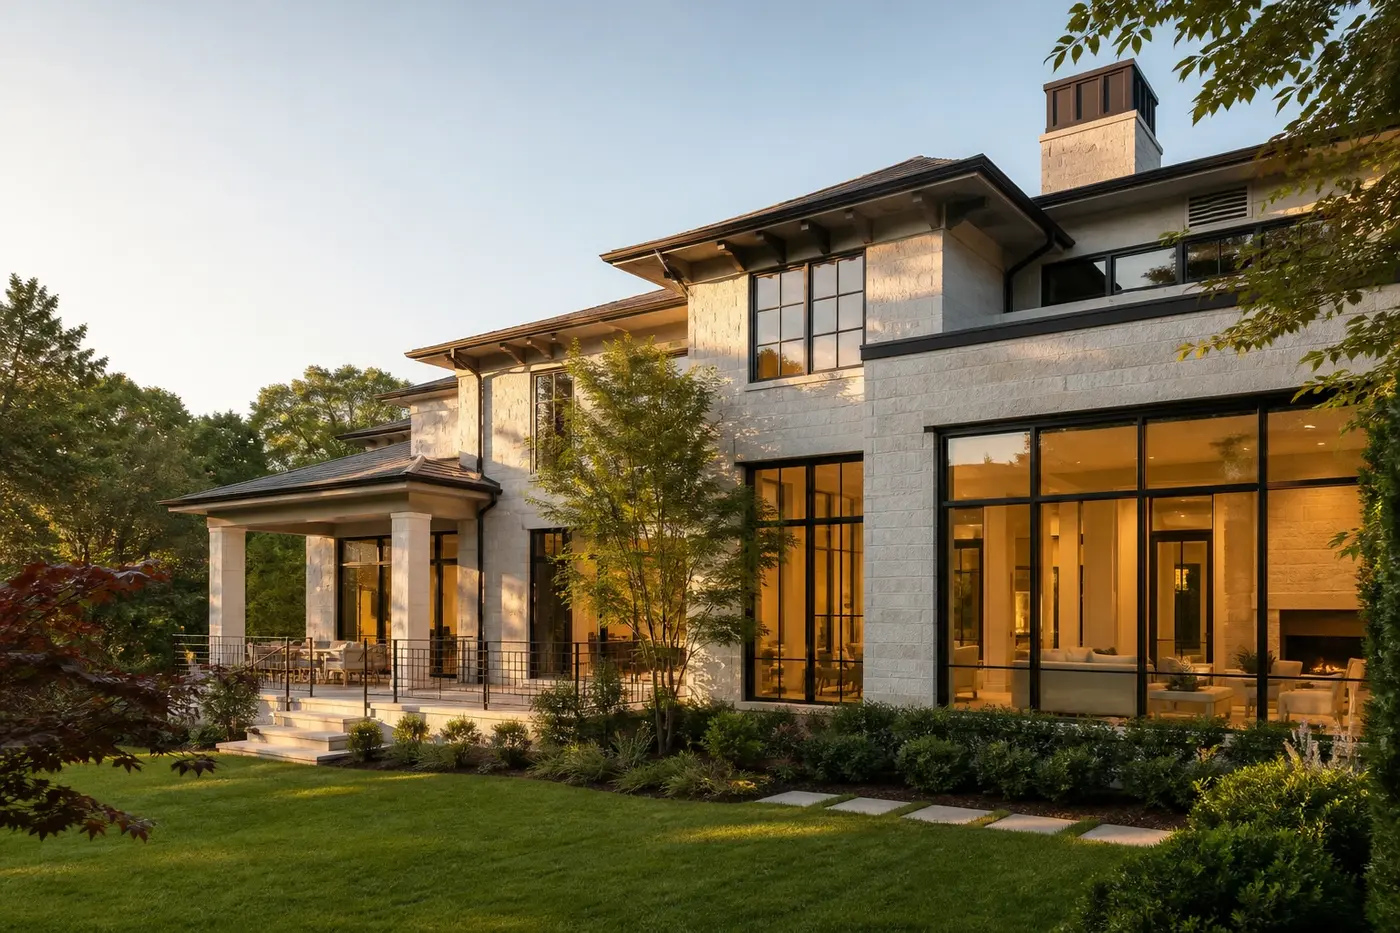
Plan HVAC zones around real differences in the new home: floor levels, orientation, glass, ceiling height, room use, occupancy, and schedules. Decide which spaces should respond together, then coordinate equipment, duct routes, returns, thermostats, controls, insulation, and service access with the architecture. Zoning should solve a clear comfort problem—not divide the house into as many areas as possible. The best plan is one the mechanical design can support without noisy airflow, crowded ceilings, awkward equipment locations, or controls that are difficult to use.
Planning a new home? Explore Max Built's custom-home process, then view the craftsmanship in our project portfolio.
1. Start with room-by-room conditions, not a zone count
A zone is useful only when a group of rooms behaves differently from the rest of the house. Begin by studying orientation, window area, roof exposure, insulation, ceiling height, air leakage, occupancy, and the way each room will be used. A sunny upper-floor room with broad glass may need a different response than a shaded main-floor room, even when their square footage is similar.
Ask the mechanical designer for room-by-room load information based on the actual house rather than a rule of thumb. The calculation should reflect the selected windows, envelope assemblies, and floor plan. If those inputs change, revisit the result. A taller ceiling, larger opening, or expanded glass wall can alter both the load and the path available for air distribution.
Do not begin by deciding that every bedroom or wing needs its own thermostat. More zones add dampers, controls, wiring, setup, and service points. First identify the spaces with a genuine difference, then choose the simplest arrangement that can manage it well.
- Which rooms receive strong afternoon sun or sit below a large roof area?
- Where do ceiling heights and room volumes change significantly?
- Which spaces are occupied on a different schedule from the main living areas?
- Which doors are usually closed, changing how air returns to the system?
2. Group spaces by exposure, use, and schedule
A practical zone usually combines rooms that gain and lose heat in similar ways and are used at similar times. An upper bedroom level may make sense as one zone. A main living area with extensive west-facing glass may deserve separate control from a shaded guest suite. A frequently used primary suite may not belong on the same schedule as occasional rooms across the house.
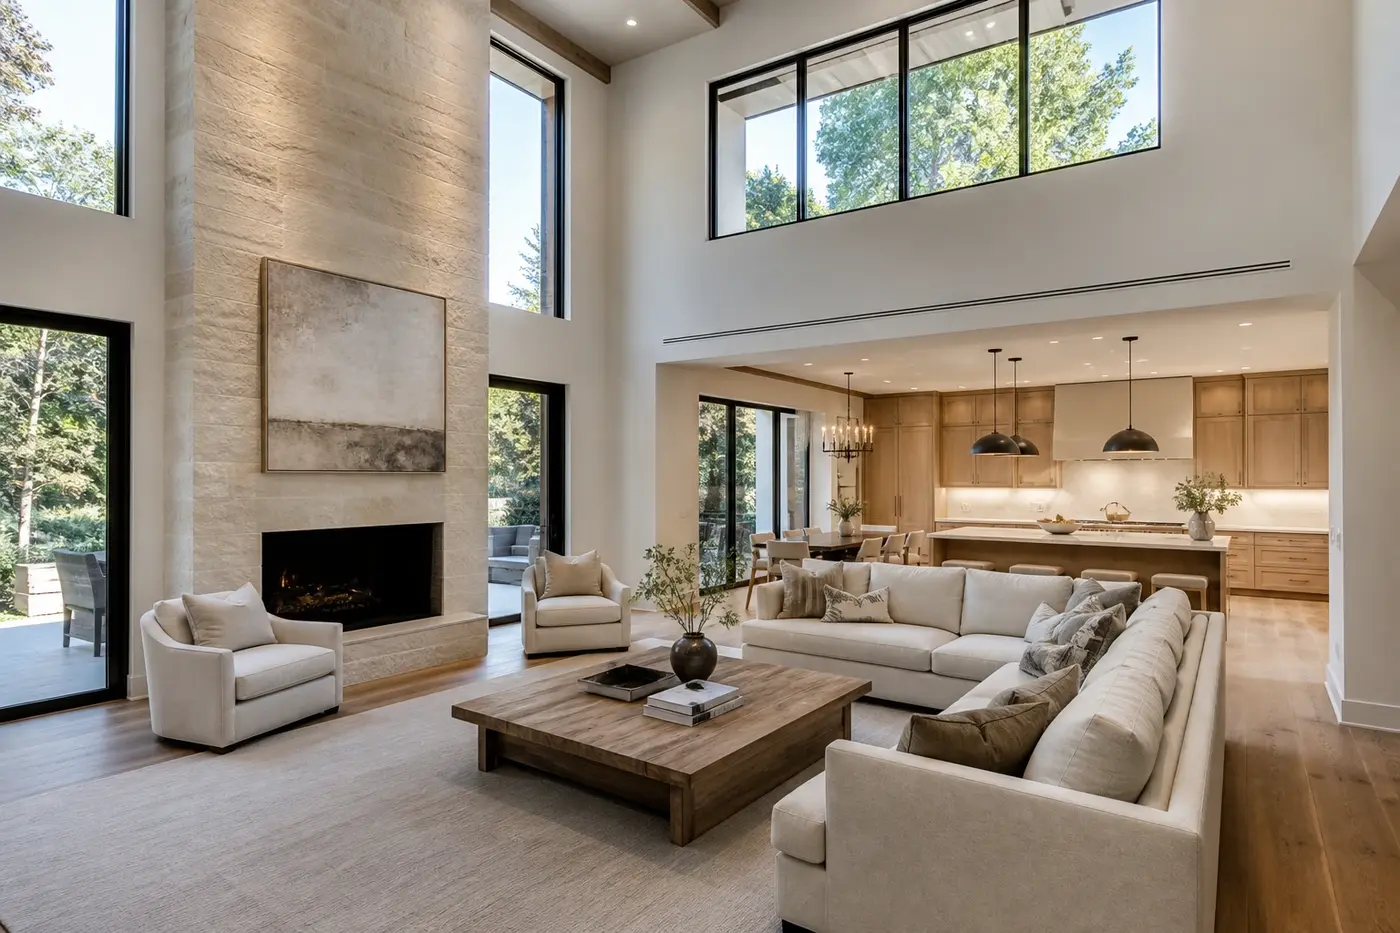
Keep circulation in mind. Open stairs, balconies, double-height rooms, and broad cased openings allow air and heat to move between levels. A thermostat cannot create a hard boundary where the architecture does not. Study the house in section and consider how connected volumes will behave together before drawing a zone line through them.
Also test the plan against daily life. If a zone mixes a closed bedroom with an open great room, one sensor may not represent both spaces. If two rooms share a zone but one is rarely occupied, discuss whether balancing, transfer paths, or a different grouping will produce steadier comfort without unnecessary complexity.
3. Coordinate duct routes while the architecture can still move
Zoning depends on air reaching each space quietly and returning through a clear path. Draw supply trunks, branch ducts, returns, dampers, chases, and equipment connections while floor framing, ceiling profiles, beams, cabinetry, and lighting are still being coordinated. A zone diagram without buildable routes is only a wish list.
Pay particular attention to long spans, vaulted rooms, low roof areas, steel beams, tray ceilings, and rooms over garages or porches. These conditions can squeeze ducts into paths that are too shallow or circuitous. A modest adjustment to a closet, hall ceiling, or framing direction during design may protect both airflow and the finished architecture.
Review outlet placement with furniture and window plans. Air should not blow directly across the head of a bed, compete with a curtain pocket, or land where a built-in will cover it. Returns need an unobstructed path as well. The quietest visual result usually comes from planning these elements early, not hiding them after every other detail is fixed.
4. Match equipment, dampers, and controls to the zone plan
A zoned system changes airflow as dampers open and close. The equipment and distribution design must be able to respond without excessive pressure, noise, short cycling, or weak delivery to the smallest active zone. Ask the mechanical professionals to explain how the system manages varying demand and what happens when only one zone calls.
Avoid selecting equipment first and forcing the house around it later. The zone layout, load calculations, equipment capabilities, duct sizing, damper positions, controls, and commissioning plan belong in one conversation. Sometimes separate systems are a cleaner answer than dividing one system into many small zones; sometimes a well-planned shared system is appropriate. The house-specific design should decide.
Document control sequences in plain language. Homeowners should understand which thermostat or sensor governs each area, whether minimum run or airflow rules apply, and how schedules interact. If the explanation is impossible to follow on paper, the finished system will not become easier to operate.
5. Place thermostats and sensors where they can read the zone
A thermostat measures the conditions around it, not the average experience of every room it serves. Keep it away from direct sun, exterior doors, supply registers, fireplaces, unusually warm equipment, and concealed corners with little air movement. Place it in a representative location that homeowners can reach without turning it into the focal point of a prominent wall.
For a zone with rooms that behave differently, discuss remote or averaging sensors with the mechanical team. Decide which sensor is active at different times and how closed doors affect the reading. Technology can help, but only after the zone grouping and airflow paths make sense.
Coordinate controls with the electrical and interior plans. Confirm wiring, power, connectivity, wall elevations, and any home-automation interface before drywall. A clean location should still allow practical replacement and service rather than burying essential parts behind custom millwork.
6. Treat the envelope as part of the comfort system
Zoning cannot compensate for an unresolved building envelope. Air sealing, insulation continuity, window performance, shading, roof assemblies, and transitions around openings all influence how hard each zone must work. Coordinate these details before relying on controls to correct a room that gains or loses heat too quickly.
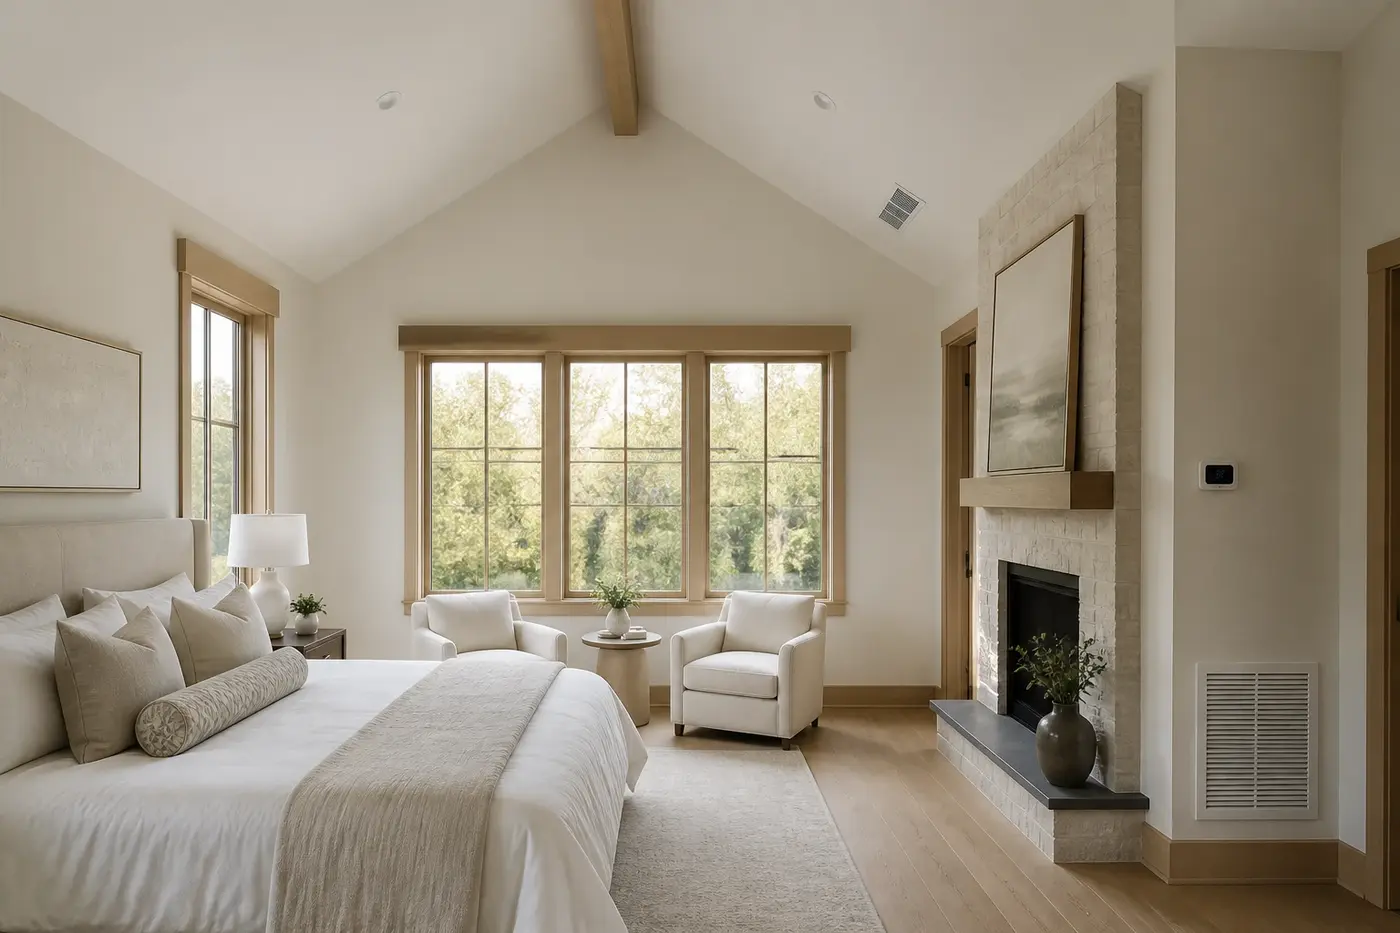
Large windows deserve particular attention. Study orientation, glass specifications, overhangs, interior shades, and nearby air delivery together. The goal is not to give up daylight or views. It is to understand their effect early enough that the architecture and mechanical design can support each other.
Rooms above garages, beside unconditioned spaces, or under complex roofs should receive a careful enclosure review. Good comfort starts by reducing avoidable differences. Then zoning can manage the differences that remain because of use, exposure, and schedule.
7. Plan commissioning, filter access, and future service
A zone plan is not finished when the drawings are approved. The completed system needs testing, airflow balancing, control setup, and verification in multiple operating conditions. Confirm who will commission the dampers, thermostats, sensors, and equipment, and what records the homeowner will receive.
Give filters, dampers, control panels, drain pans, shutoffs, and equipment realistic service space. An attic platform or compact closet may look sufficient in plan but become difficult once ducts, piping, wiring, clearances, and access paths are added. Service should not require crossing a fragile ceiling or dismantling permanent finishes.
Before construction closes the walls and ceilings, compare the final mechanical layout with framing, electrical, plumbing, lighting, cabinetry, and interior elevations. Photograph concealed routes and label zones and controls clearly. A coordinated handoff helps the finished custom home stay understandable long after the first season of operation.
HVAC zoning for a Charlotte custom home
When should HVAC zoning be planned for a custom home?
Begin during architectural design, after the floor plan and envelope concept are developed but while framing, ceiling profiles, chases, equipment spaces, and control locations can still be coordinated.
Does every floor need a separate HVAC zone?
Not automatically. Floor levels often behave differently, but orientation, open stairs, ceiling volumes, room use, and equipment strategy also matter. Use room-by-room conditions and the mechanical design to decide.
Can one HVAC system serve several zones?
It can when the equipment, ducts, dampers, controls, and smallest active zone are designed to work together. The mechanical team should explain how airflow and pressure are managed as zones open and close.
Where should thermostats be placed in a custom home?
Place them in representative, accessible locations away from direct sun, exterior doors, fireplaces, supply air, and unusual heat sources. Remote or averaging sensors may help when one zone contains rooms with different conditions.
What should be checked before HVAC rough-in?
Review room loads, zone boundaries, equipment, duct and return paths, damper and control locations, framing, ceiling plans, lighting, cabinetry, thermostat elevations, service access, filter access, drain routes, and the commissioning plan.
Build the right plan before construction begins
Tell us about your property, priorities, and the way you want to live. We'll help organize the next decisions around a clear, buildable path.