

How to Plan Windows for a Charlotte Custom Home: 7 Decisions
By Max Built
9 min read
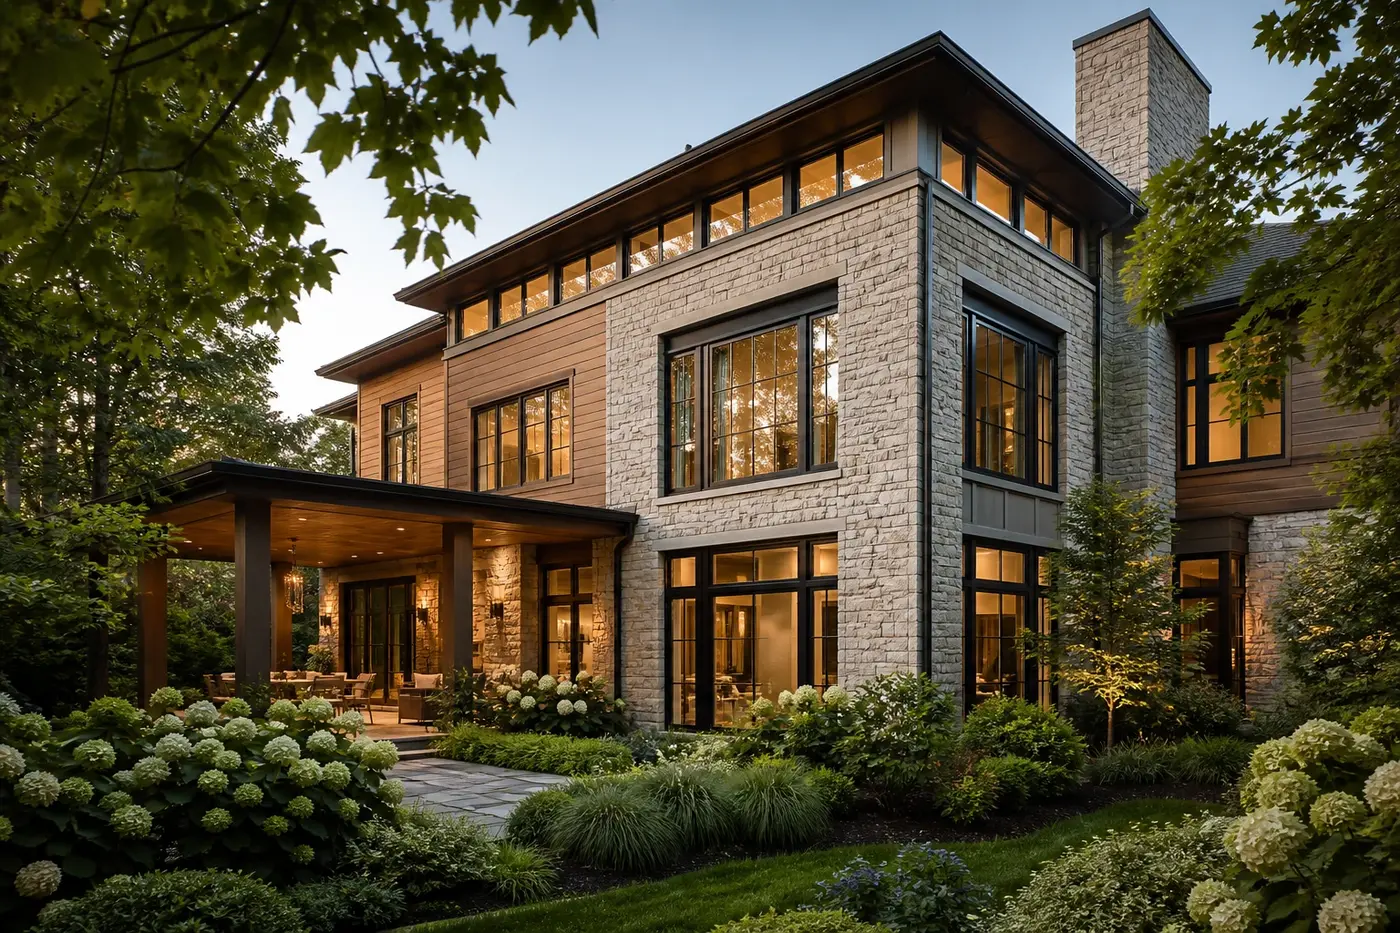
Plan windows room by room, but review them as part of the whole house. Start with the view, daylight, privacy, furniture, and ventilation each room needs. Then coordinate sill and head heights, frame proportions, exterior elevations, roof overhangs, glass choices, shades, structure, and water management before the openings are fixed. More glass is not always better. The right window plan gives important spaces the light and outlook they deserve while keeping bedrooms private, walls useful, and the exterior calm.
Planning a new home? Explore Max Built's custom-home process, then view the craftsmanship in our project portfolio.
1. Give every window a clear purpose
Begin with the room, not a window catalog. One opening may frame a garden view. Another brings morning light to a kitchen counter, gives a stair natural light, or lets a bedroom receive fresh air without exposing the bed. Write down the job of each important window before choosing its size or style.
Walk through a normal day on the floor plan. Where will someone sit, cook, read, wake up, or look outside? Which walls need to hold a bed, artwork, cabinetry, or a fireplace? A beautiful wall of glass can become frustrating when it leaves no useful place for furniture or creates glare at the time a room is used most.
Keep the plan disciplined. A few well-placed openings often do more than a wall filled with unrelated shapes. When every window has a reason, the interior and exterior are easier to coordinate and the finished home feels intentional rather than simply transparent.
- What should this room see from its main seat or work area?
- When should daylight reach the room, and from which direction?
- Which walls must remain useful for furniture, storage, or art?
- Does the room need an operable window, or is fixed glass the better fit?
2. Map views and privacy from both sides of the glass
A window has two viewpoints. From inside, it frames trees, sky, a courtyard, or a neighboring property. From outside, it can expose more of the room than expected. Study both directions at eye level and from nearby upper floors before settling the opening.
Reserve the strongest views for rooms where they will matter every day. A great room or kitchen may deserve the broad garden outlook, while a bath or bedroom can use higher sills, narrower openings, filtered planting, or carefully placed corner glass. Privacy works best when the building placement, room layout, windows, and landscape solve it together.
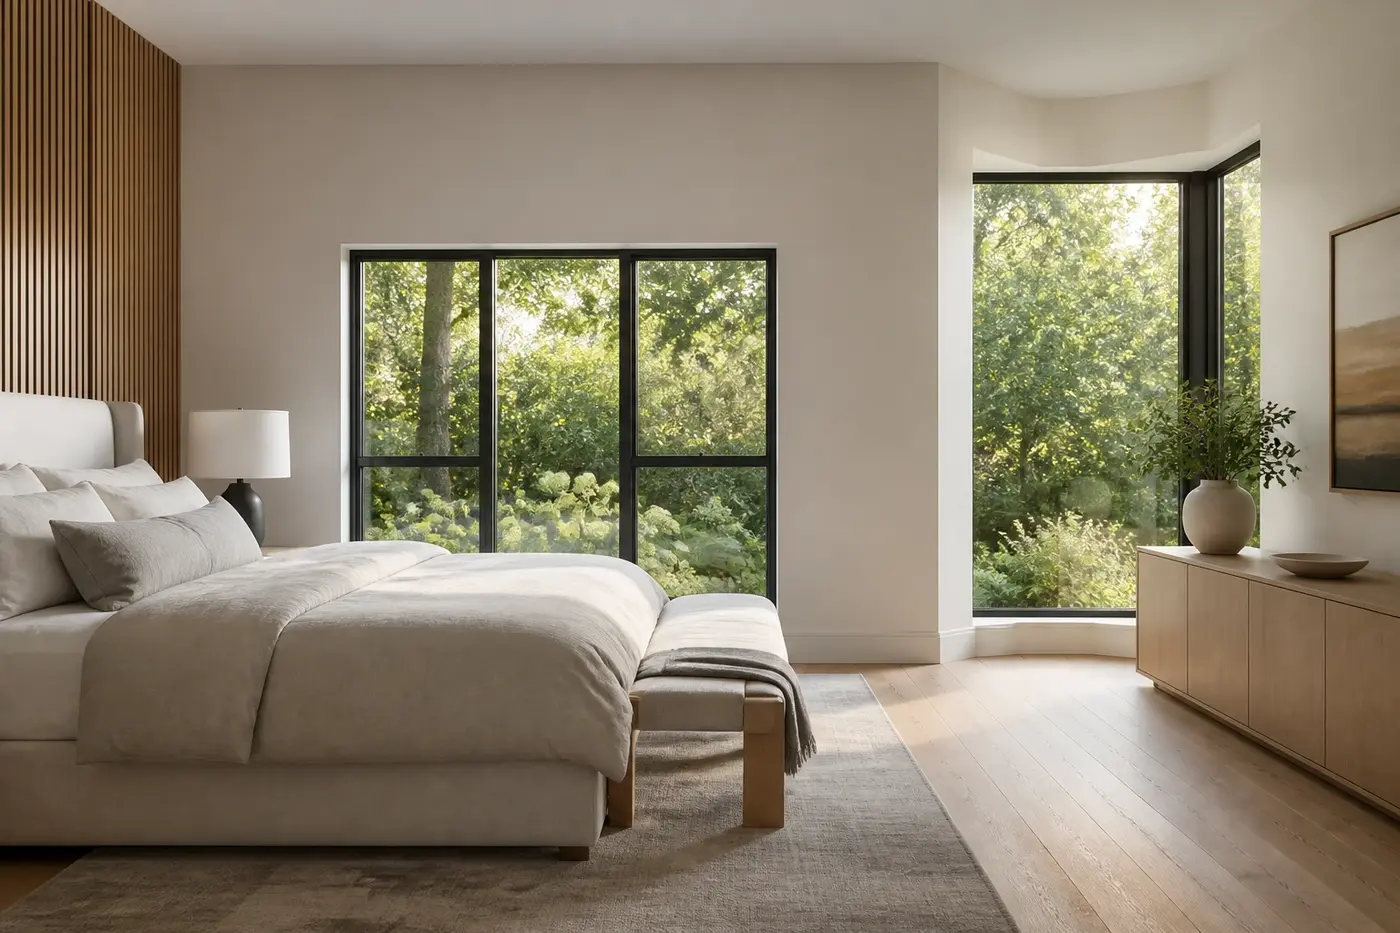
Do not rely on future curtains to correct every sightline. Shades are useful, but a room that must remain covered all day loses the light and view the window was meant to provide. Adjust the opening while the plan can still move—sometimes a small shift in height or position changes the experience completely.
3. Set sill heights, head heights, and proportions in the room
Window dimensions should be tested against real furniture and body height. In a bedroom, the sill may need to clear a headboard or nightstand while still allowing a useful view. In a kitchen, a window has to meet the counter, faucet, backsplash, and upper cabinets. In a stair or double-height room, its position should make sense from more than one level.
Draw interior elevations for the important rooms. Show the ceiling, doors, cabinets, furniture, trim, and window heads together. Repeating a consistent head height can create calm, but special rooms may justify a deliberate change. The point is to make the variation intentional, not accidental.
Then check the proportions at full scale. Tall narrow openings feel different from broad horizontal ones even when the glass area is similar. Tape an outline on a wall or review a dimensioned room view. A rendered image can suggest atmosphere, but dimensions reveal whether the sill, frame, and view will actually land where expected.
4. Coordinate the room layout with the complete exterior
A window can be perfect inside one room and still weaken the exterior composition. Review floor plans and elevations side by side. Heads, sills, mullions, material changes, columns, rooflines, and doors should form a clear rhythm without forcing every opening to be identical.
Start with the rooms, because the house must work from within. Then compose the exterior by adjusting nearby openings, wall proportions, or material transitions. Avoid shifting a window away from the best interior location merely to complete a rigid grid. Equally, do not let each room place its own opening without checking the façade as a whole.
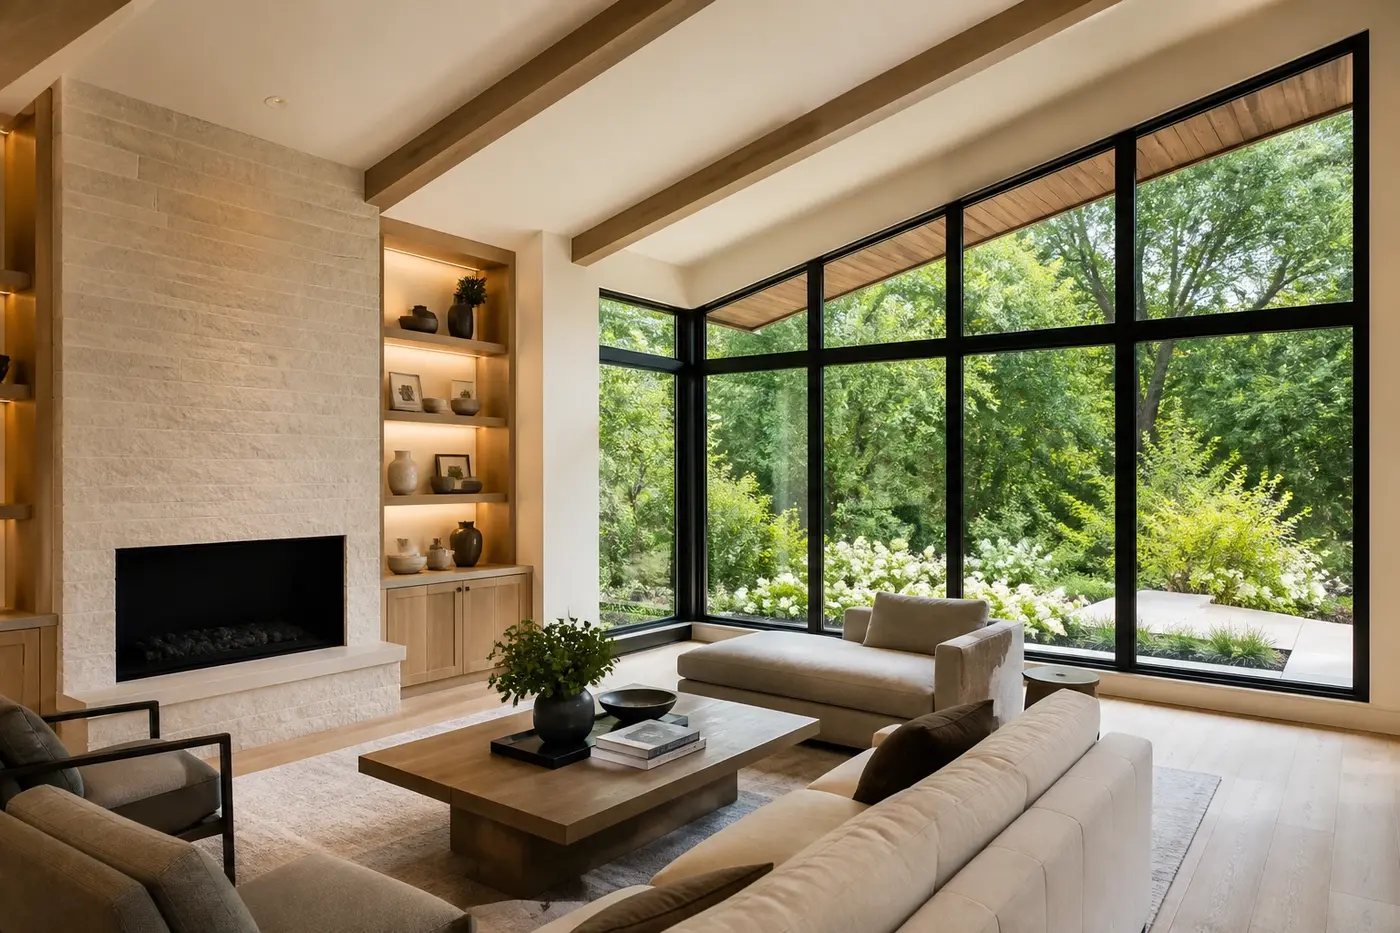
Corners deserve extra attention. Corner windows, wraparound glass, and grouped openings can make a room feel open, but they also affect structure, shading, furniture, and the way materials terminate. Study these conditions in plan, elevation, and section before they become a framing problem disguised as a design feature.
5. Balance daylight, shade, and glare
The brightest room is not automatically the most comfortable one. Orientation, mature trees, neighboring shade, roof overhangs, porches, glass area, and interior finishes all change the daylight. Compare the window plan at the times each room will be used, especially early morning and late afternoon when the sun is low.
Large garden-facing glass can be wonderful when it frames a private outlook and works with the room. It can also create glare across a television, wash out a work surface, or make one seating area noticeably warmer than another. Test the furniture and daily routine alongside the sun study rather than treating them as separate drawings.
Use architecture before relying entirely on controls. An overhang, porch, exterior screen, tree canopy, or adjusted window proportion may handle direct sun while preserving the view. Interior shades can refine the result, but their pockets, power, fabric, and stack need a place in the design from the start.
6. Choose glass, operation, screens, and shades as one system
Fixed, casement, awning, sliding, and other window types change both appearance and use. Decide which openings genuinely need ventilation, how they will open around furniture or planting, and whether a screen will alter the view. A fixed picture window may provide the cleanest outlook, while a smaller operable unit nearby handles fresh air more naturally.
Review frame depth, sightlines, hardware, screen location, and finish samples together. Two products described with the same nominal color can look different in daylight. The meeting between interior trim, sill, drywall, stone, or wood should also be drawn. Those edges are what homeowners see at close range every day.
Glass selection belongs in the same conversation as orientation and shading. Ask the project team to coordinate the actual window schedule, energy requirements, safety locations, privacy needs, and desired appearance for the house. Product decisions should support the room plan rather than arrive as a generic package after the design is settled.
7. Resolve structure, water management, and installation details
Every opening interrupts a wall. Wide spans, corner glass, stacked windows, and tall groups need credible framing and a clear relationship to floor and roof structure. Coordinate headers, posts, beams, and nearby mechanical routes before a clean interior elevation depends on space the structure also needs.
The outside edge matters just as much. Draw how the window meets the water-resistive layers, flashing, sill, trim, masonry, siding, and drainage path. Deep recesses and mixed materials can look refined, but they create more transitions that must be understood before installation. The detail should move water out, not trap it behind a decorative frame.
Before ordering, compare the window schedule with every floor plan, elevation, room elevation, structural drawing, shade pocket, and finish detail. Confirm sizes, handing, operation, glass, screens, hardware, colors, and opening locations. One careful cross-check now protects the views, daylight, furniture, and exterior rhythm that shaped the window plan in the first place.
Window planning for a Charlotte custom home
When should windows be planned for a custom home?
Plan window locations and proportions during early floor-plan and exterior development. Refine glass, operation, shading, structure, flashing, and trim before framing and product orders make changes difficult.
Should all window heads align in a custom home?
Consistent head heights can create a calm interior and exterior rhythm, but they do not need to align everywhere. Tall rooms, stairs, clerestories, and special views may justify deliberate changes that are coordinated across the drawings.
Is more glass always better in a luxury home?
No. Glass should support the view, daylight, privacy, furniture, comfort, and exterior composition. An opening that creates glare, removes useful wall space, or faces an unwanted sightline may be better when it is smaller or placed differently.
How should bedroom windows be positioned?
Coordinate them with bed and nightstand locations, privacy, morning light, views, ventilation, curtains or shades, and the exterior elevation. Test sill height and sightlines from both standing and lying positions.
What should be checked before windows are ordered?
Check every opening's size, location, sill and head height, handing, operation, glass, screens, finish, hardware, shade needs, structure, flashing, trim, material transitions, room layout, and agreement across plans, elevations, schedules, and details.
Build the right plan before construction begins
Tell us about your property, priorities, and the way you want to live. We'll help organize the next decisions around a clear, buildable path.